You can add borders to your prints when you apply sales settings to file in creativehub.
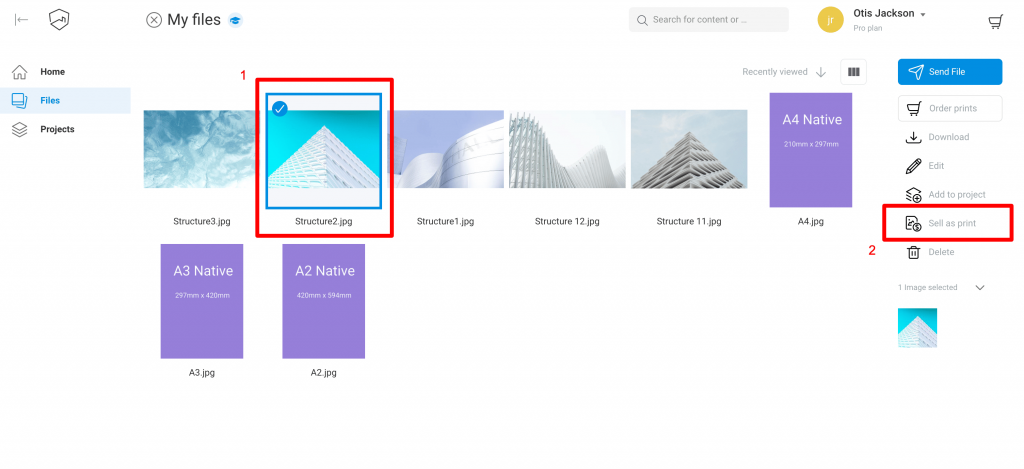
- Select the print you want to add the borders to
- Click ‘Sell as print’ from the right hand side options
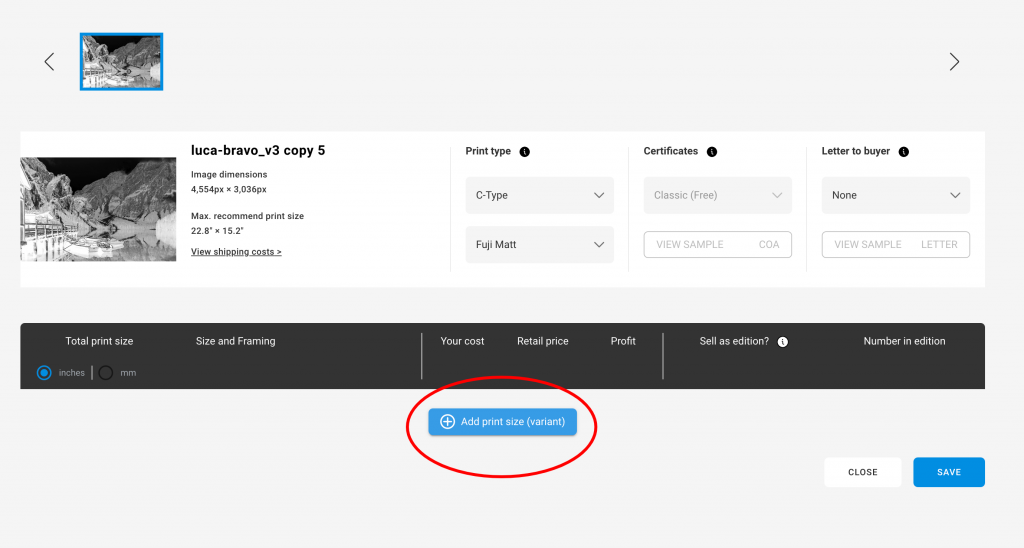
You can create your print products here. Click the button ‘Add print size’.
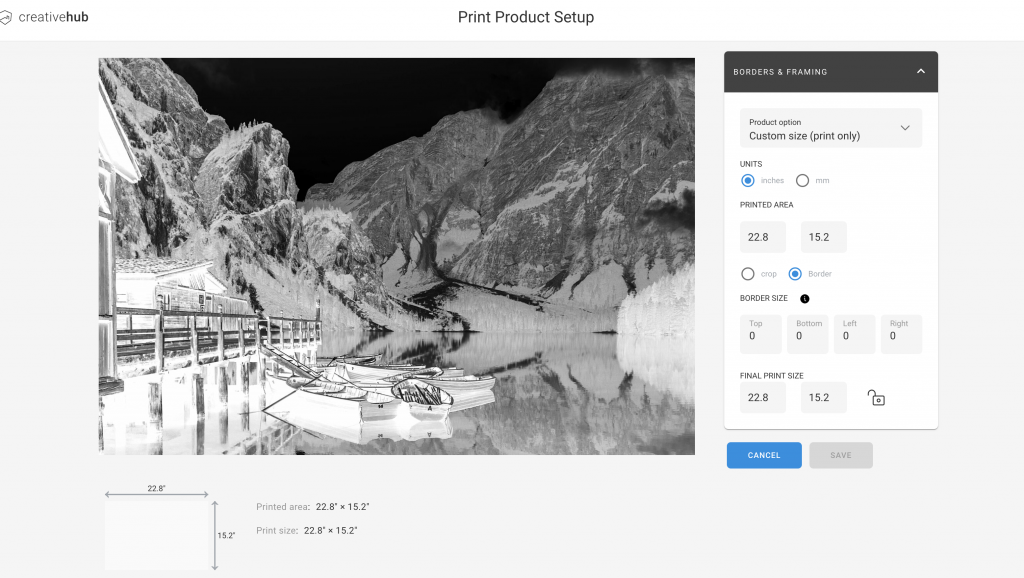
You are now on the screen where you can set up your print products. Use the drop down to select ‘custom size (print only’
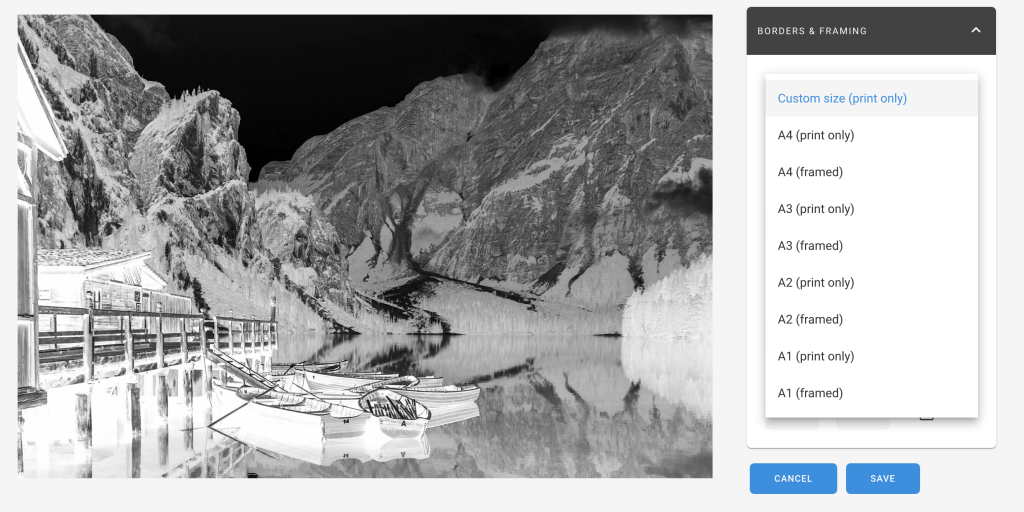
Update the required print size and border details.
Click ‘Save’ when you are done.